How to improve your tennis serve: the 9 checkpoints
By Pavel Viks, The Serve SpecialistThe quickest way to a better serve is to fix it in the order the motion happens. These are the nine checkpoints Pavel Viks checks in every serve he coaches, from the toss to the landing. Find your weakest one, fix that first, then move to the next.
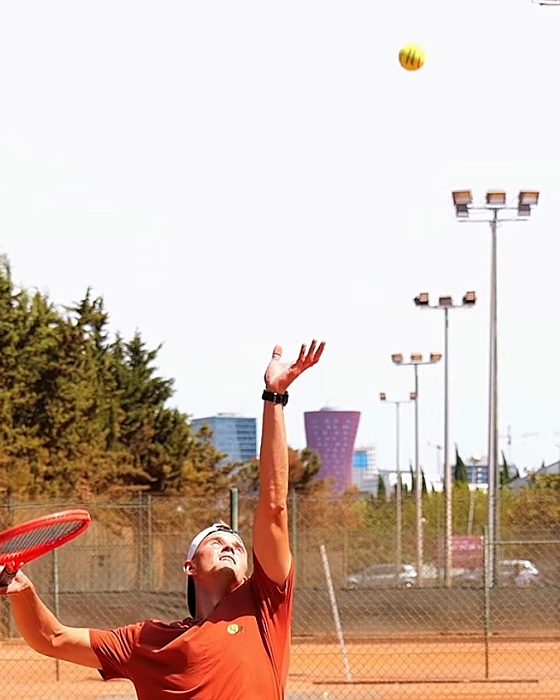
1Toss placement and height
A good serve toss peaks in the same place every time: slightly in front of you and to your hitting side, just above your full reach.
Rated by Pavel
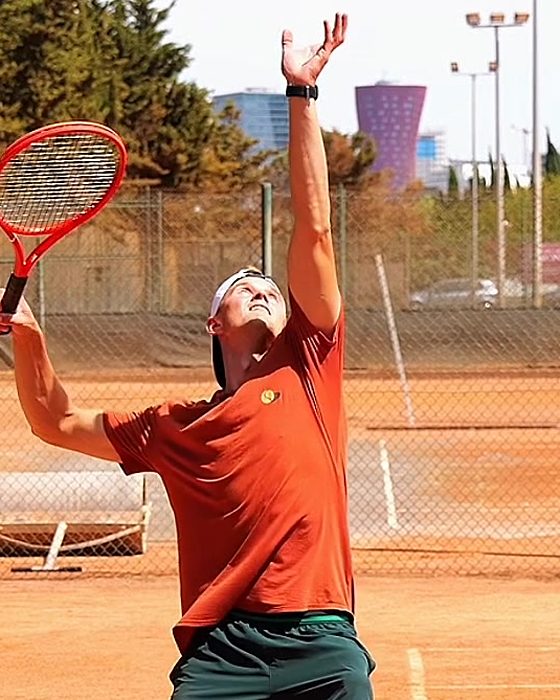
2Tossing arm stays high
Your tossing arm should reach straight up and stay up until the racket drops, which lifts your front shoulder above your hitting shoulder: shoulder over shoulder.
Measured by Serve Scan
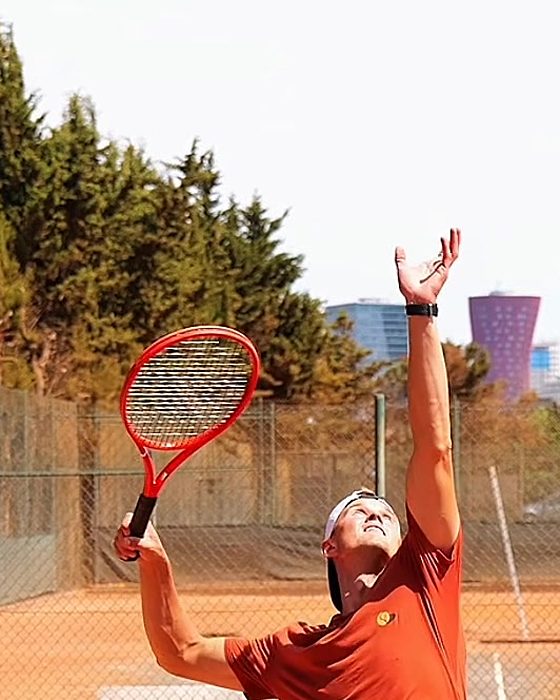
3Trophy position
The trophy position is the moment before the swing when your hitting elbow sets up the throw: level with or just below your shoulder, racket tip up, edge facing the side fence.
Measured by Serve Scan
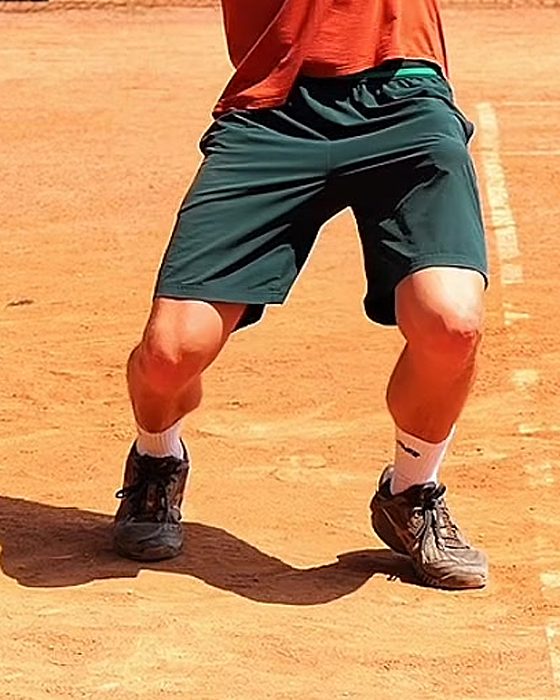
4Knee bend
Knee bend is how your legs load before the swing: your knees bend and your hips lower as the ball goes up, storing energy you release upward into the ball.
Measured by Serve Scan
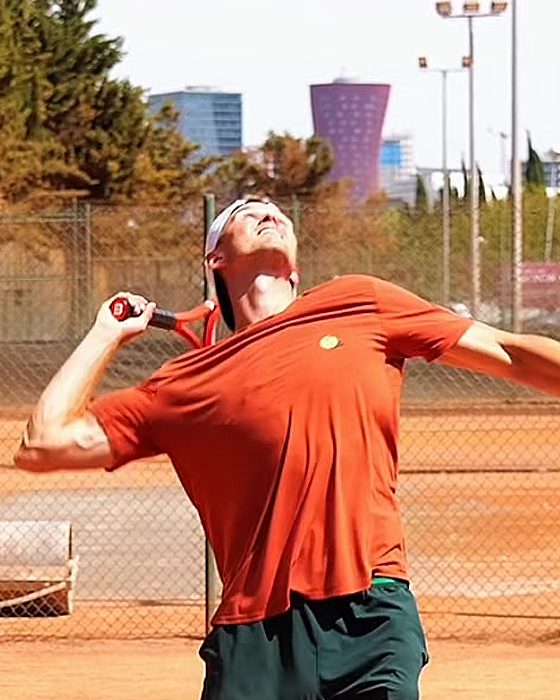
5Racket drop
The racket drop is what the racket does behind your back after the trophy: it drops down, edge first, so it can accelerate up to the ball.
Rated by Pavel
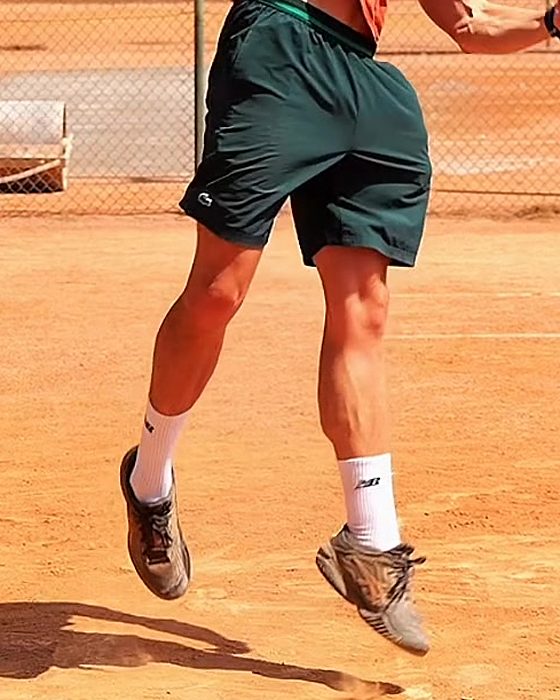
6Leg drive
Leg drive is how you push up off the ground into the ball, sending the energy from your legs through your body and into the serve.
Measured by Serve Scan
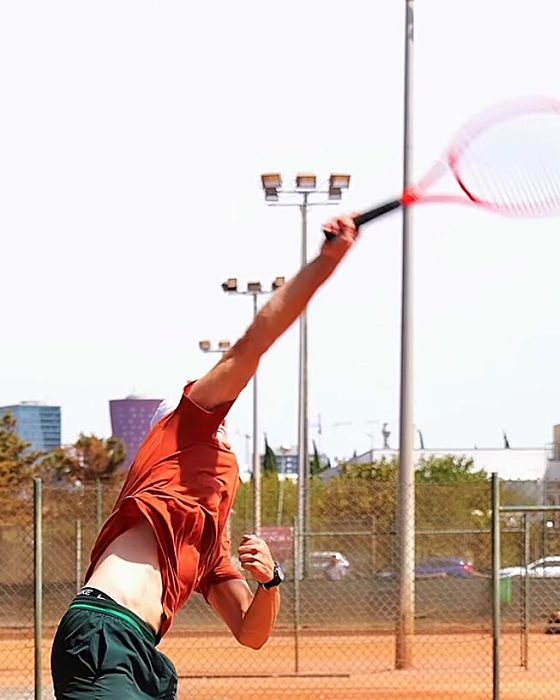
7Contact height
The serve contact point should be at full reach upward, with your hitting elbow above your head and your arm reaching up rather than out in front.
Measured by Serve Scan
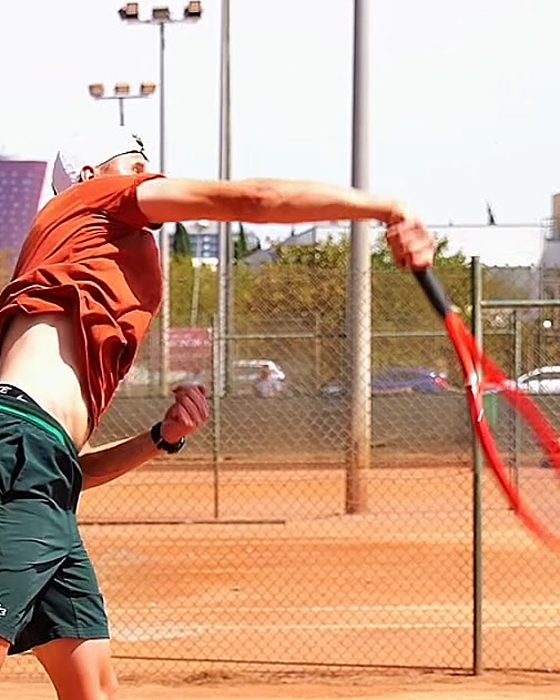
8Pronation
Pronation is how your forearm turns through contact: the racket travels to the ball on its edge, then your forearm turns out so the strings meet the ball.
Rated by Pavel
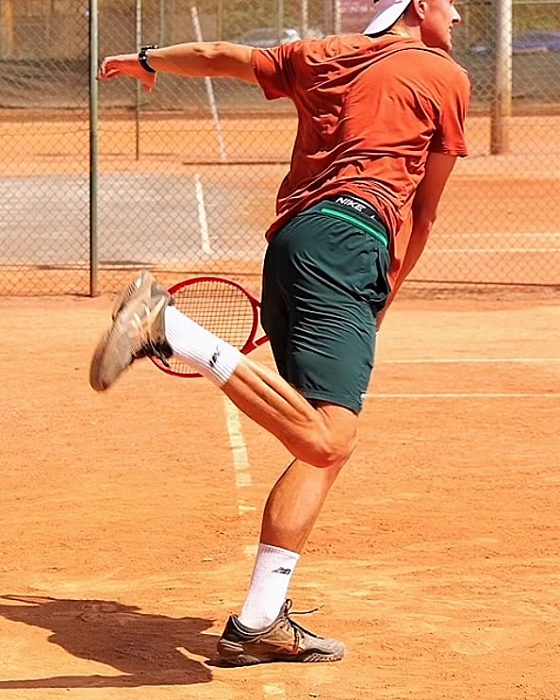
9Front-foot landing
Landing on your front foot inside the baseline shows your weight went up and forward into the serve.
Measured by Serve Scan
Find your weakest checkpoint
Film one serve on your phone. Serve Scan tracks your body, scores your serve out of 100 and shows the checkpoint where it leaks the most power. Free, and your video stays on your phone.
How to work on a checkpoint
- Watch the video first. Then copy the drills slowly, without a ball.
- Practise little and often. Five to ten minutes before each session, for two weeks.
- Add the ball at half pace. Keep the feeling for 10 to 20 serves before you build up speed.
- Check your progress. After two weeks, film one serve side-on and scan it again to compare.
How to film your serve for analysis
- Film from the side. Stand the phone side-on to the player, level with the baseline, so the camera sees the whole motion in profile.
- Phone at hip height. Prop it on a bag or a bench rather than filming from above or below.
- Whole body in frame. Head to feet, with room above for the racket at contact.
- Good light, plain background. Avoid filming into the sun, and keep other players out of the shot.
- Any length is fine. Serve Scan finds the serve in the video for you.
Questions
How can I improve my tennis serve fast?
Work on one checkpoint at a time, starting with your weakest. Practise its drills for five to ten minutes before each session for two weeks, add the ball at half pace, then film your serve again to check. Fixing the checkpoints in the order the serve happens stops one fault from hiding another.
What are the nine checkpoints of the tennis serve?
1. Toss placement and height, 2. Tossing arm stays high, 3. Trophy position, 4. Knee bend, 5. Racket drop, 6. Leg drive, 7. Contact height, 8. Pronation, 9. Front-foot landing.
How do I analyse my serve from a video?
Film one serve side-on, with your phone at hip height and your whole body in frame. Serve Scan tracks your body in the video, scores your serve out of 100 and shows your biggest leak, free. Racket drop, pronation and toss placement are hard for a camera to judge; your report shows how to get those checked by Pavel.
Is Serve Scan free?
Yes. The scan runs on your own phone or computer, and your video isn’t uploaded unless you ask Pavel to review it.